

Related Articles

August 7, 2023 |
Mobile App Development
Mobile App Security (Android and iOS) Best Practices
Here are 8 essential practices for developing secure Android and iOS mobile applications.
Read The Post
August 10, 2023 |
Mobile App Development
Check out the best AI apps for Android in 2026: Top AI Apps
Discover the top 10 AI apps that can enhance your productivity and improve both your personal and professional life.
Read The Post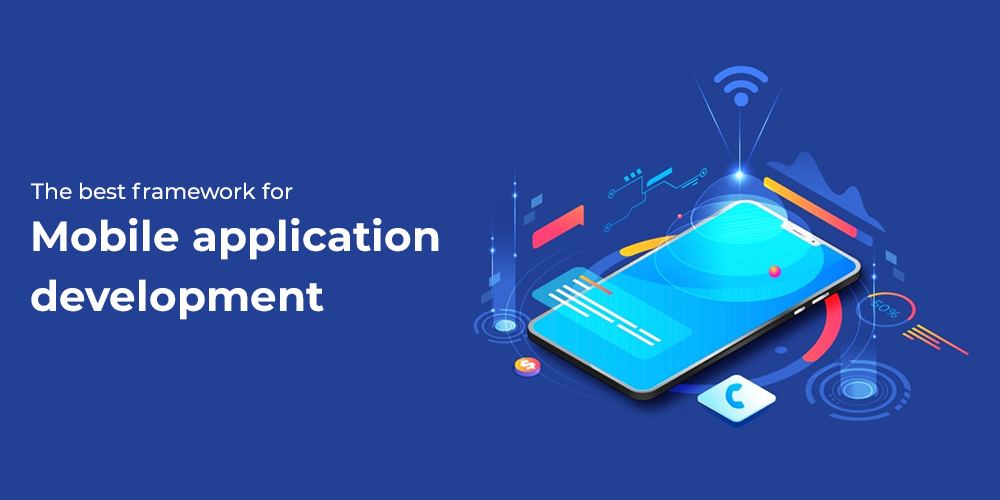
October 18, 2022 |
Mobile App Development
The best framework for mobile application development
Struggling to choose the right framework for mobile app development? Here are the top 10 frameworks to consider.
Read The Post